
Useful information for those who want to use custom fonts in TourDash tours.
First of all, to use the custom fonts, you should convert your font to web-compatible formats. You can’t use OTF or TTF directly. For example, you can use fontsquirrel’s tool to convert the font (www.fontsquirrel.com/tools/webfont-generator).
Then you should access the TourDash Asset Manager (live.tourdash.com/assets) and upload “.eot” “.ttf” and “.woff” versions of the fonts. It will be useful to create a separate folder for fonts (e.g. “fonts”) and upload the files there.
After that you should copy the URL’s for the fonts from the asset manager and write them down. Just right-click the font files and choose “Copy link address”. You will use that URL’s later to setup the @font-face section.
The next step is to define a custom css styles for your fonts. Go to the Tour Editor and open the CSS panel (you can find it under the “Labs” icon). If you can’t find the “Labs” icon then you should send a request for enabling the advanced CSS functionality to support@tourdash.com
We have prepared a code snippet for you, that can be used as a base for your custom styles.
After creating custom styles you can save your tour and start editing the popup contents. To apply a custom font for a paragraph of text, for example, you should turn on the HTML editing mode of the popup editor (click the “<>” button) and use the following code:
If you want to apply your font to popup titles, your should copy this snippet to the custom CSS panel. Don’t forget to change “OpenSans” to the name of font that you are using.
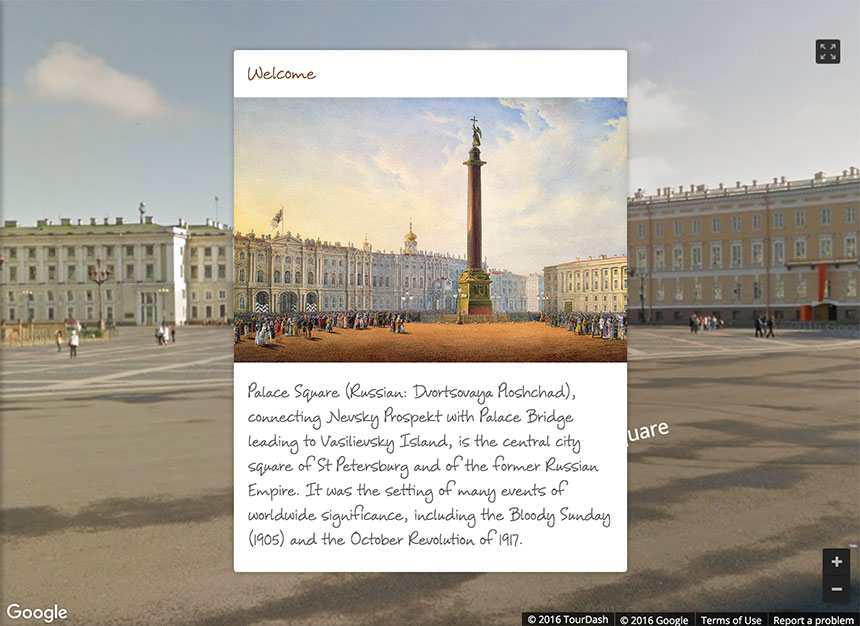
This is an example of customized tour. Custom font is a very important part of brand-management and also it’s just beautiful. Make your own tour with your own fonts and look how easy it is!
For any technical questions about custom CSS please contact support@tourdash.com.